Adjusting the appearance of 2D nodes
You can adjust the appearance of 2D nodes by filling their background or foreground with a brush. For example, you can set the background color of a Page node, fill a Text Block 2D node with a texture, or apply a material to a Button 2D node.
You can fill 2D nodes with:
Filling 2D nodes with a solid color
Use a Color Brush to fill a 2D node with a solid color.
To fill a 2D node with a solid color:
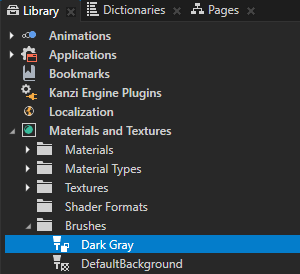
- In the Library press Alt and right-click Materials and Textures, select Color Brush, and name the brush.

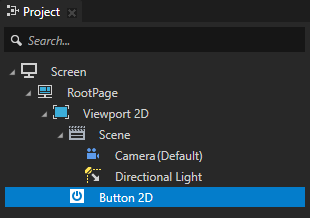
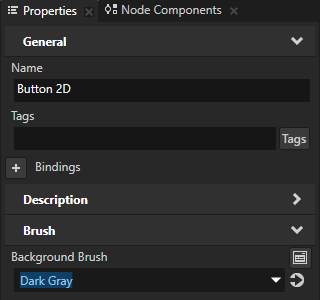
- In the Project select the 2D node that you want to fill with the brush you created, in the Properties add the Background Brush or the Foreground Brush property, and select the brush you created in the first step.
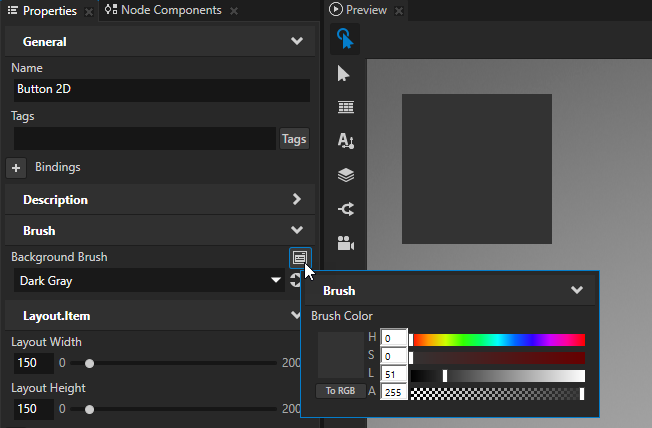
For example, create a Button 2D node, in the Properties add the Background Brush property, and set it to the brush you created in the first step.
- In the Properties click
 next to the property you added in the previous step and set the color of the color brush you created in the previous step.
In the Preview you can see that the Color Brush you created fills the node for which you set the property.
TIPTo quickly edit a brush, in the Properties next to the Background Brush or Foreground Brush property click and edit the brush.

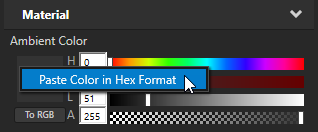
TIPIn Kanzi Studio you can apply color in hexadecimal format to all properties that set a color. In a tool that you use to set the color, copy the hexadecimal code of a color, in Kanzi Studio in the Properties right-click the color swatch of the property for which you want to use that color, and select Paste Color in Hex Format.
Filling 2D nodes with a texture
Use a Texture Brush to fill a 2D node with a texture.
To fill a 2D node with a texture:
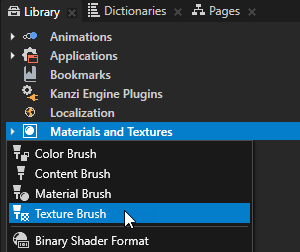
- In the Library press Alt and right-click Materials and Textures, select Texture Brush, and name the brush.
- In the Project select the 2D node that you want to fill with the brush you created, in the Properties add the Background Brush or the Foreground Brush property, and select the brush you created in the first step.
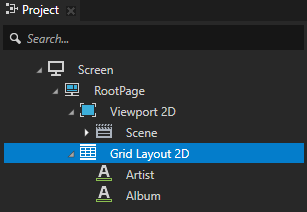
For example, create a Grid Layout 2D node, in the Properties add the Background Brush property, and set it to the brush you created in the first step.
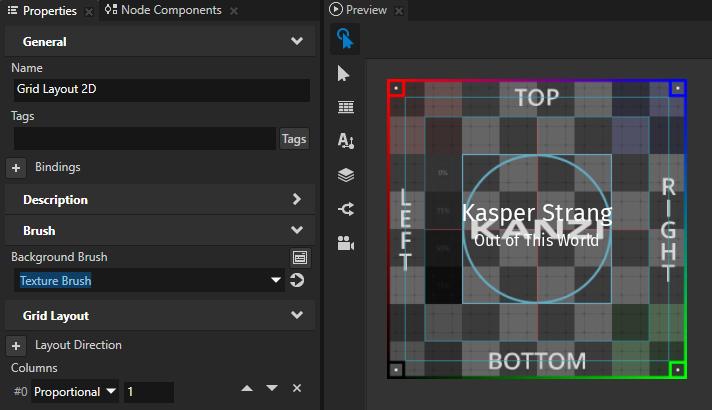
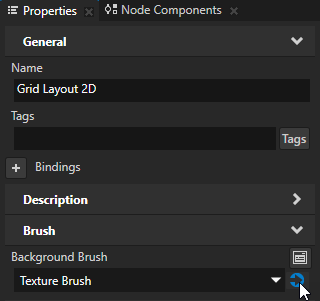
- In the Properties click
 next to the property that you added in the previous step to go to the brush used by that property, set the texture you want this texture brush to use, and adjust how the Texture Brush uses that texture:
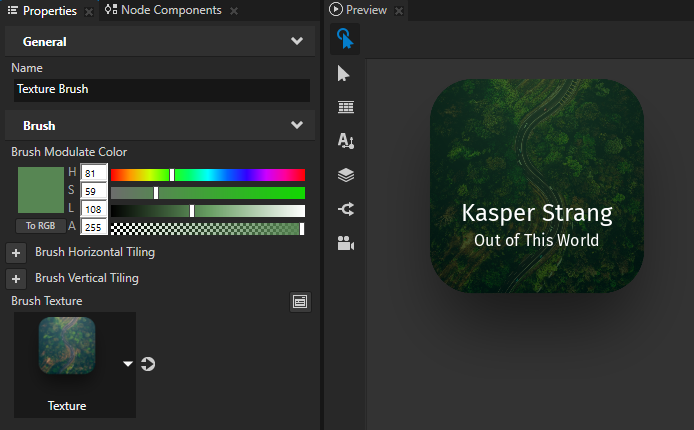
- Brush Modulate Color sets the modulation color for the brush.
- Brush Horizontal Tiling affects the scale of the texture coordinates to set the horizontal tiling of the texture.
- Brush Vertical Tiling affects the scale of the texture coordinates to set the vertical tiling of the texture.
- Brush Texture sets the texture for the brush.
Filling 2D nodes with a material
Use a Material Brush to fill a 2D node with a material.
To fill a 2D node with a material:
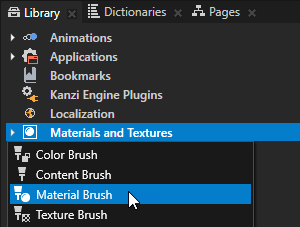
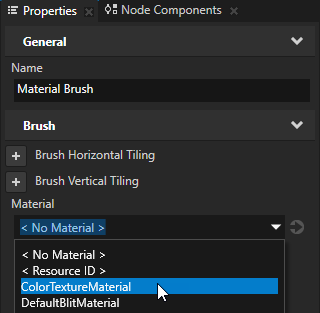
- In the Library press Alt and right-click Materials and Textures, select Material Brush, and name the brush.
- In the Properties set the Material property to the material you want to use to fill a 2D node.
If you do not have any materials in your project, create a material. See Creating a material.
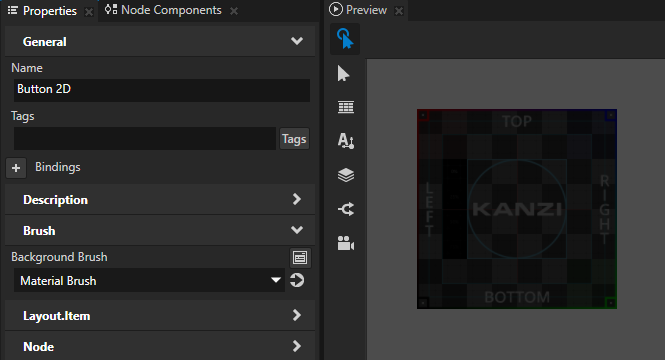
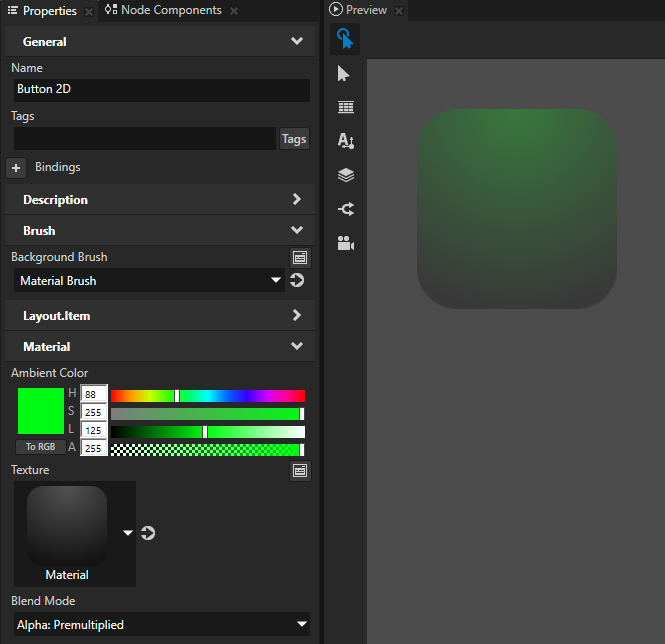
- In the Project select the 2D node that you want to fill with the brush you created, in the Properties add the Background Brush or the Foreground Brush property, and select the brush you created in the first step.
For example, create a Button 2D node, in the Properties add the Background Brush property, and set it to the brush you created in the first step.
- To adjust the appearance of the material, set the Material properties either in:
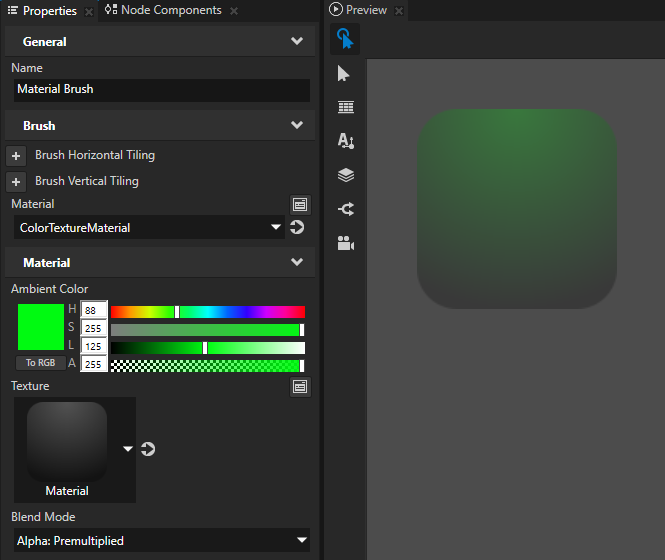
- The Material Brush.
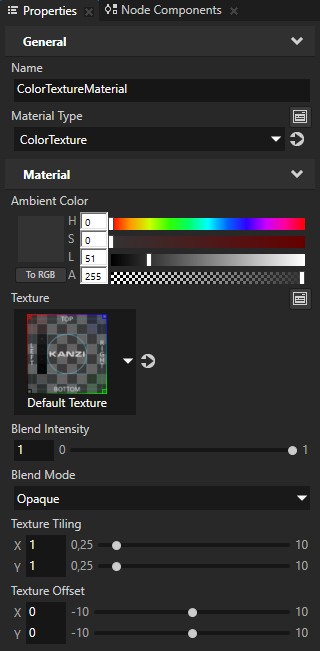
For example, to change the ambient color, texture, and blending of the material for the Material Brush, add and set the Ambient Color, Texture, and Blend Mode properties.
- The node which uses the Material Brush.
For example, to change the ambient color, texture, and blending of the material for a node, add and set the Ambient Color, Texture, and Blend Mode properties in that node.
See also
Using brushes
Using materials
Textures
Applying custom rendering to 2D nodes
Creating a 3D perspective effect for 2D nodes

Open topic with navigation